|
Build Automator Documentation
Action Items List |
|
Previous
Top
Next
|
|
|
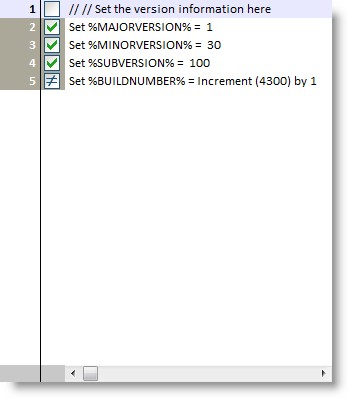
The Actions Items list is in the middle of the Project Window. The Action Items list shows information about each action that has been added to the project. How the information is displayed is determined by how the Action was set up in the Action Editor.
|
The Action Items list is constructed of 3 components:
The line number serves as a placeholder so it is easy to identify each line.
The checkbox in the Action Items list has three possible states:
If the checkbox is unchecked, the Action Item will not be included in the execution of the project - it will be skipped. To toggle the checkbox between checked and unchecked double click on it. In order to change the condition, right click on the Action Item - or use the AppsKey on the keyboard - and select "Properties" This opens the Action Items Properties window which will show you information about the Action Item as well as allow you to enter a condition.
The Description is constructed by the software and cannot be changed in the Action Items list.
To create a new Action Item, you need to locate the Action that you want to use and double click on the Action Tree to insert it into the Action Items list. You can also use the keyboard to select the Action and then press the Enter or Insert key on the keyboard.
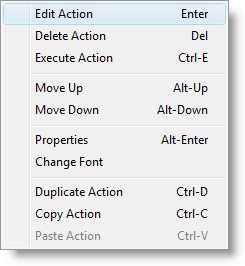
To edit the Action Item, select it and press the Enter key on the keyboard or double click on it with the mouse. You can also right click on the Action Item and select "Change Item" from the popup menu.
To limit the risk of accidentally deleting an Action Item, the Build Automator prompts you for confirmation before deleting. To delete an Action Item, you can use the Delete key on the keyboard or right click and select "Delete Action" from the popup menu.
You can use the popup menu to Execute the selected Action Item by right clicking on the item - or use the Apps Key on the keyboard - and select "Execute this Action" from the popup menu.
There are no limits to how many Actions Items can be in a single Project Item or in a single Project for that matter.
If multiple items have been selected, the popup menu indicates that by showing "Delete Actions" and "Execute Actions".
Items can be moved up and down in the list by using Ctrl-Up arrow and Ctrl-Down arrow on the keyboard or by right clicking on the items list and using "Move Up" or "Move Down"
To view the Action Item Properties, select "Properties" from the popup menu.
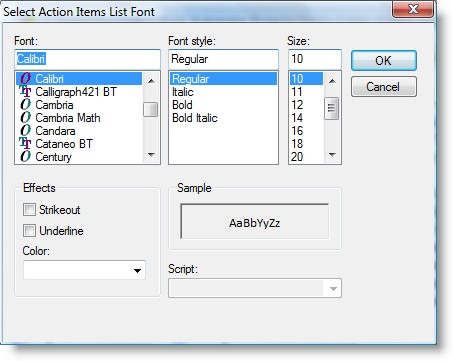
The font of the action item list can be changed by using the "Change Font" option.
It brings up a standard Fonts dialog.
Clipboard actions are supported for single or multiple items. You can copy and paste actions within the same Project Item, into a new Project item or into a different project. You can also duplicate the selected action, by using the popup menu or by using Ctrl-D on the keyboard.
Standard clipboard keyboard shortcuts are available such as Ctrl-C to copy and Ctrl-V to paste
|